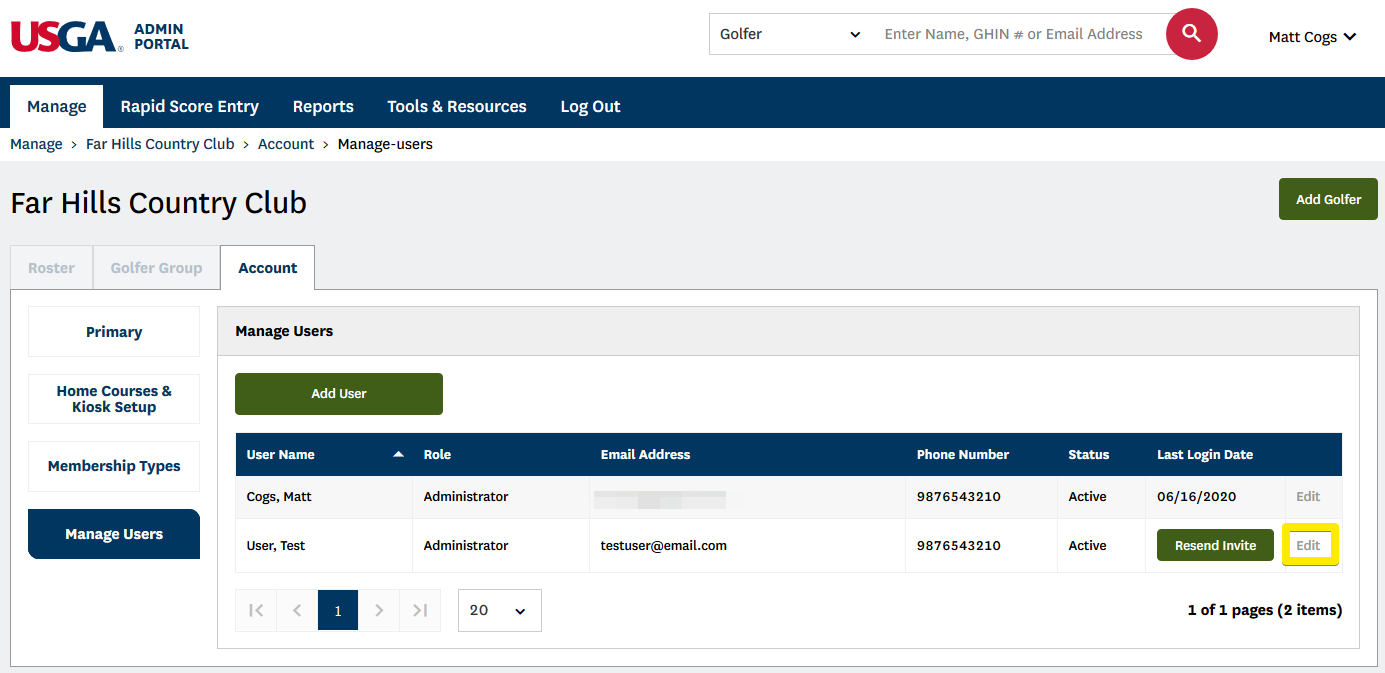
To review how to access the Manage Users section for your Club, click here.
Adding a User
- Click “Add User” to create a new User for your Club.

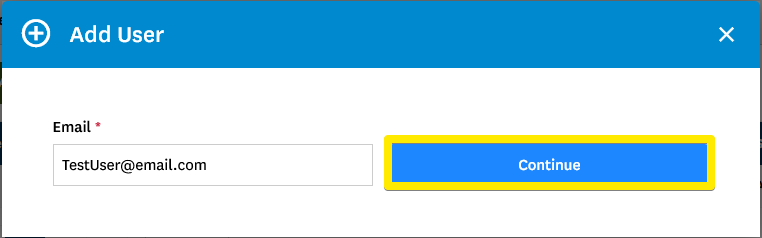
- You will first be asked to enter the User’s email address and click “Continue.” We will then search to see if the individual is an existing user.
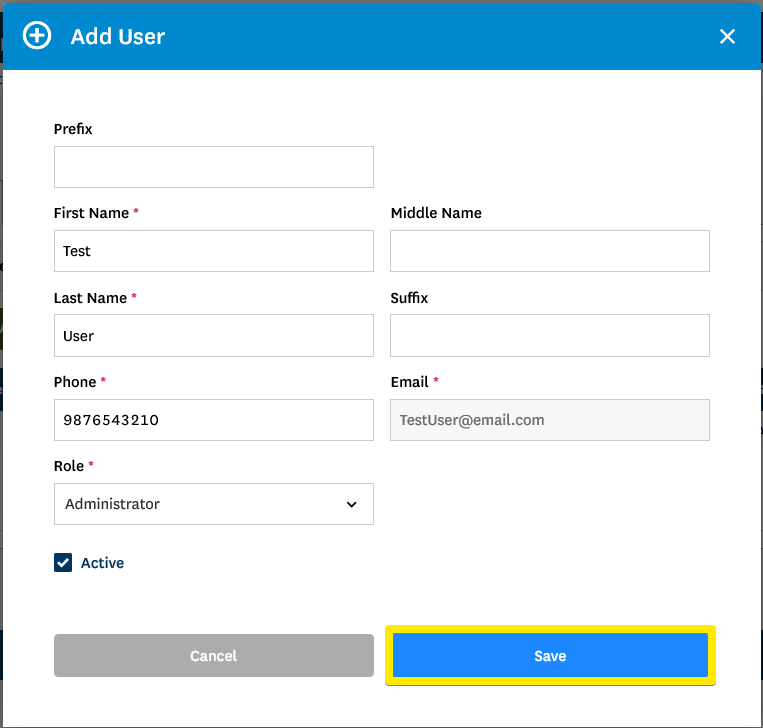
- If the email address lookup does not return a match, you will be presented with a form to enter the individual’s name and contact information. At the bottom of the form, you will be asked to designate a Role and can set the account status.
Note: Clubs can assign Roles as “Administrators” (who have all full read and write access) or “Admin-Read Only” (who have read-only access). There is no limit to the number of users that can be added.
- Click “Save” to create the User. The User will receive an email to the supplied email address asking them to set a password in order to complete their account setup.
- If the email address lookup returns a match, the form will be pre-populated with the User’s contact information. Make any necessary updates and select a role before adding them to your club.
- Click “Save” to add the User to your Club.
- Existing Users will receive an email notification informing them of their new permissions.
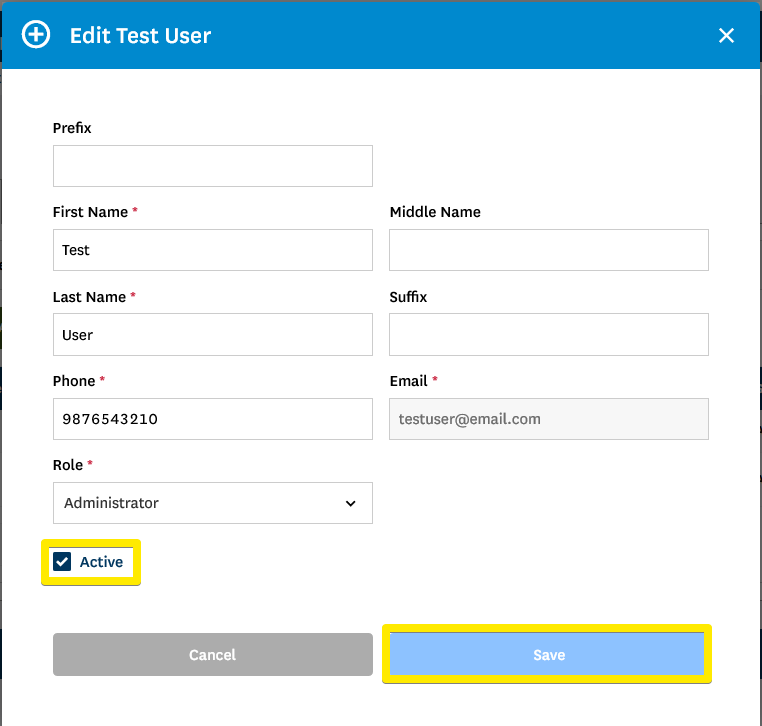
Editing a User
- To edit a User, click “Edit” to the right of the User’s status.
- Apply any necessary changes to the User’s contact information or role. Click “Save” to apply the changes. You can also re-send the invite to the Admin Portal for the user here.
- To activate or inactivate a user, select or deselect the checkbox next to Active. Click “Save” to apply the changes. The status will display to the right of the User’s phone number on the Manage Users screen.